Autoguiding has revolutionised astrophotography. While your main imaging camera is off doing its job, a second camera keeps an eye on a star – any star – in the telescope’s field. If your mount begins to drift off target, the computer that’s looking through this second camera notices straight away. The computer then sends a message to the mount, getting the mount back on target. Essentially, it’s a feedback loop. It can make the difference between being able to get a 30 second image and being able to get 10 minutes or more.
A second camera
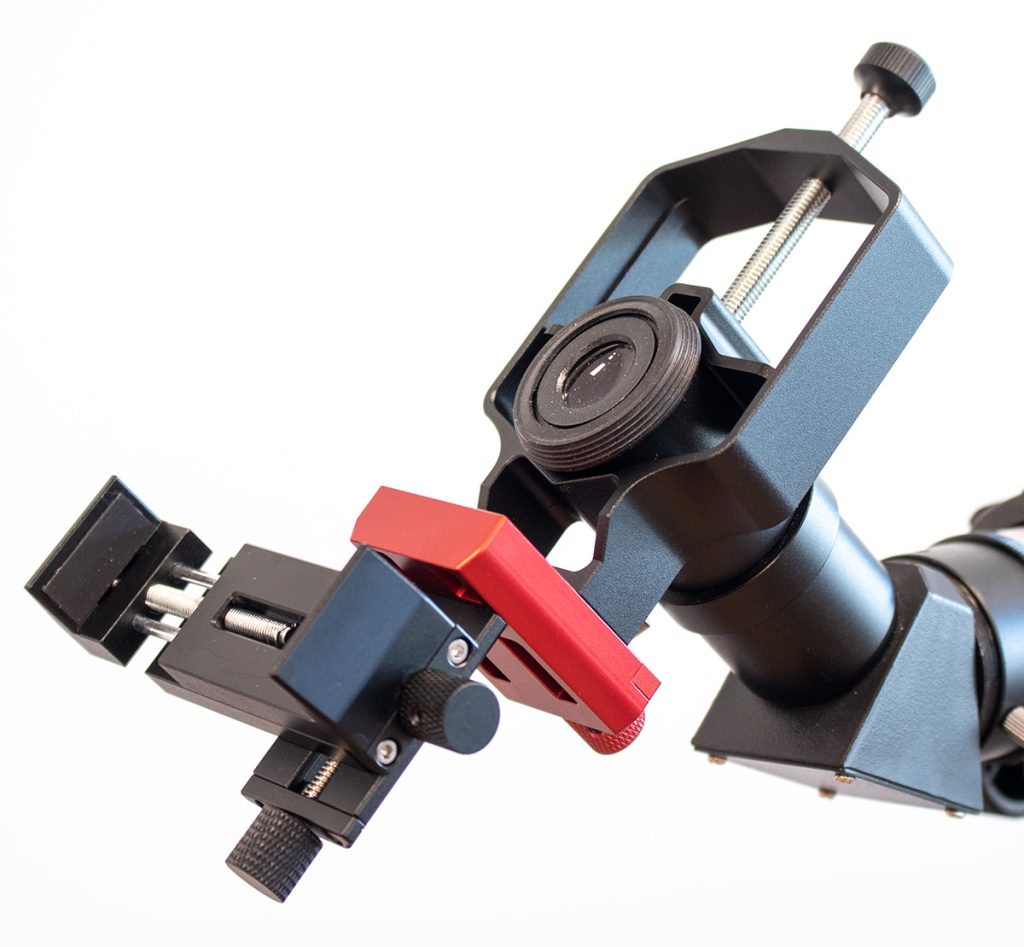
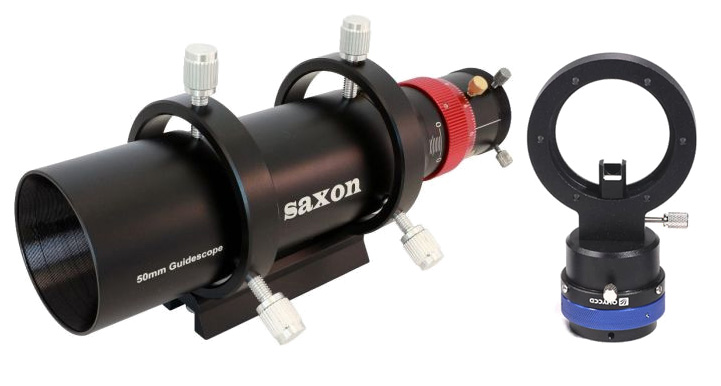
There are two ways to place the guiding camera. You can put it on a separate, normally smaller, telescope which is bolted on top or to the side of the imaging scope. This is good for shorter focal lengths, say, under 800mm.
For longer focal lengths, a small drift off the target will lead to a large and ugly movement in your image. You could just use a longer guide scope, but this will be heavy and might move slightly as your mount moves. The solution is to use an off-axis guider (OAG). This way, the guide camera will look look over the shoulder of the imaging camera, sharing the same telescope. With an OAG, your system will be immune from the dreaded “flexure”.
You’ll find the hardware you need under “autoguiding” on our web page.
How autoguiding is done
The most common autoguiding program is PHD, and it does a great job. PHD has a number of different strategies, and each strategy has a number of settings. It can look at just one guide star, or keep an eye on several at a time. When your guide star drifts, PHD can simply react to the error, but it can also take past movements into account (because most mounts work on cogs, errors tend to recur when the cog comes back to its start point). You can set at which point the computer intervenes, giving the mount a chance to correct its own errors. In short, it’s got a lot if different parameters you can set to “get better guiding”.
What PHD tells you
You can see what PHD is doing, which is both a good and a bad thing. You can see how the guide star is drifting by watching a couple of lines on a graph. These show how far the guide star is from its original position in the two dimensions your mount can move (RA and Dec). Here’s an example.

I’ve spent hours at the dark sky site watching that wiggly line, desperately willing it to go back to the centre. It’s not too good for my blood pressure!
PHD also gives you an indication of your average guiding error over a specific time. You can see it there in the bottom right corner. In this case my average guiding error was a fraction over an arcsecond, or 1/3600 of a degree. This is about three-quarters of a pixel on my sensor.
And these numbers are where a lot of problems can begin.
How autoguiding can ruin your life
PHD guiding error is given in arcseconds and is a root mean square (RMS) combination of the average errors in your RA and Dec axes. Astrophotographers look carefully at these numbers and obsess about how they can get them lower and lower. Some people I know have spent literally weeks tinkering with their hardware as well as PHD settings.
This can lead to what’s known as “analysis paralysis”. I’ve met astrophotographers who spend so much time figuring out how to improve their image, that they never get around to getting an image to improve.
So how do you know when your guiding is “good enough”?
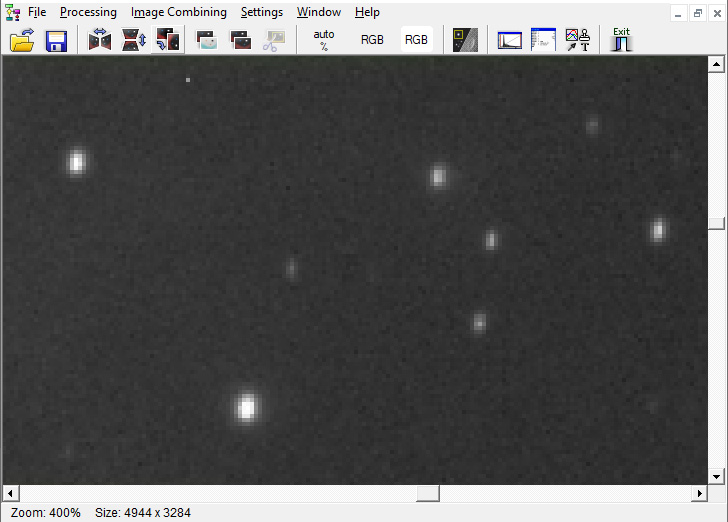
When you’re looking at an image, the only way you can assess the quality of the guiding is to zoom right in and look at individual stars. Normally, we call this “pixel peeping”, and to do it to another astrophotographer is a bit rude: a little like Mick Dundee assessing the gender of… well, you’ve probably seen the movie.
The big question is whether the stars are round. If they’re egg-shaped or even little lines, your guiding could be improved. This image here certainly wasn’t my best effort.
Autoguiding accuracy and pixel scale
Your sensor is made up of a dense matrix of pixels. For a small star to elongate, the ray of light coming from that star has to move from one pixel to its neighbour. You start to have a problem if your average guiding error is larger than the angular size of your pixels. If your average error is smaller than this, the light ray won’t hit the next pixel.
So, what does one pixel translate to in terms of arcseconds in the sky? That depends on your pixel size (which can be between around 2µm and 5µm) and your focal length. The formula is 206.265 x pixel size / focal length. Astronomy tools tells me that the “pixel scale” for my refractor and camera works out at 1.4 arcseconds per pixel. My Labradors can whack my tripod with their big waggy tails and shake the scope up to 1.4 arcseconds without damaging my image – whatsoever.
So, if your average guiding accuracy is less than your pixel scale, quit worrying. Your guiding is fine.
Exposure time and seeing
One of the first things you learn when getting into autoguiding is that the atmosphere itself is very dynamic. Look carefully, and it’s like a drunken duck. Pockets of warmer and colder air are swirling and mixing above us all the time. This causes lensing effects that change constantly. In theory, you could have your autoguide system follow all these little wobbles, but it’s a pointless waste of time. The saying in autoguiding is “don’t try to chase the seeing”.
The way to avoid this rabbit hole is to take longer autoguide exposures. This way, your computer will see the average position of your guide star, rather than a swirling, wandering target. Exposures of 2-3 seconds are normally sufficient to achieve this.
Seeing and autoguiding accuracy
While we’re on the subject of seeing, it’s pretty obvious that poor atmospheric conditions are going to muck up your image. But image degradation resulting from poor seeing is far more significant than image degradation from poor guiding.
I’ve used criteria from https://astronomy.tools/calculators/ccd_suitability. On a night with “OK” seeing conditions, the “full-width half-maximum” size of a star (that is, the amount the point source light gets smeared into a blob) can be between 2 and 4 arcseconds. So even if I have perfect guiding, my rig, with its 1.4 arcseconds per pixel, just can’t get a star onto a single pixel. I’d need a night with “exceptional seeing” (between 0.5 and 1 arcseconds FWHM) to be able to achieve that.
Of course, this seeing error will be equally spread between RA and Dec axes. So those stars will still look round, just larger. Add a little poor guiding to the mix and they’ll go a bit egg-shaped, but the worse the seeing the less obvious it will be.
The proof is in the pudding
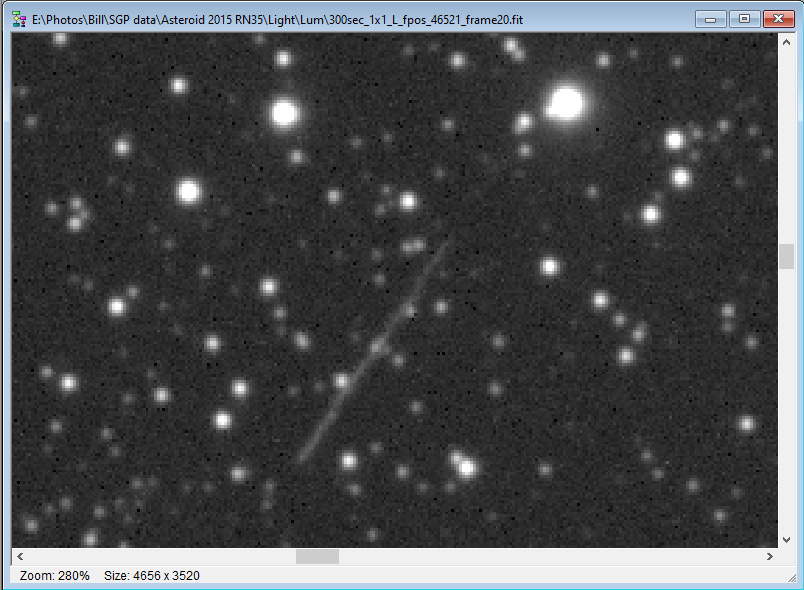
The final test of your guiding is the image itself. Take a deep breath, make sure nobody is watching, and zoom in to a single star in the centre of the image. Make sure it’s not a double star! If it’s round, you can relax. Your guiding is good enough!
Here’s one of my 5-minute images, taken while hunting an asteroid. It’s zoomed in way too far, but I reckon those stars are round enough. Except for the target, of course.
Stop worrying and start imaging
Once you have got the best result for your image you can stop worrying about getting more performance out of your autoguide system. You’ll spend more time imaging and less time worrying.